How to Create a New Company
Creating a new company
This tutorial will take you through the steps of how to create a new company.
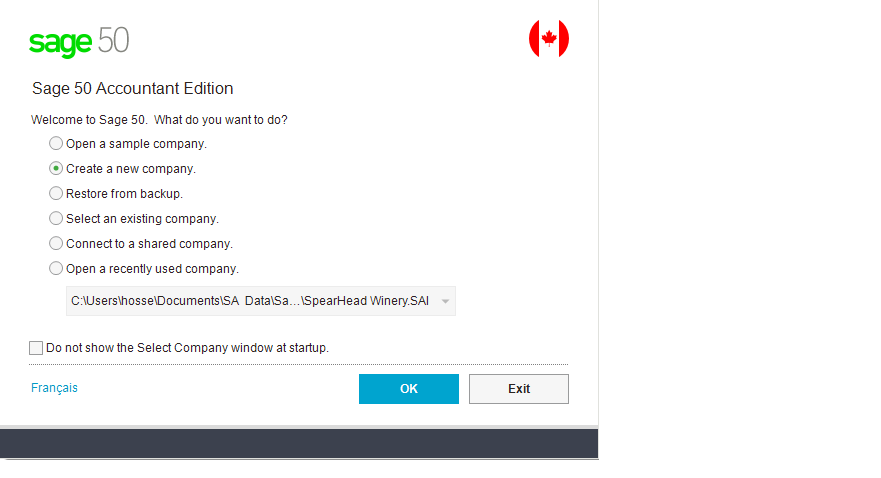
Load Sage 50 program and from the list choose Create a New Company and click ok.
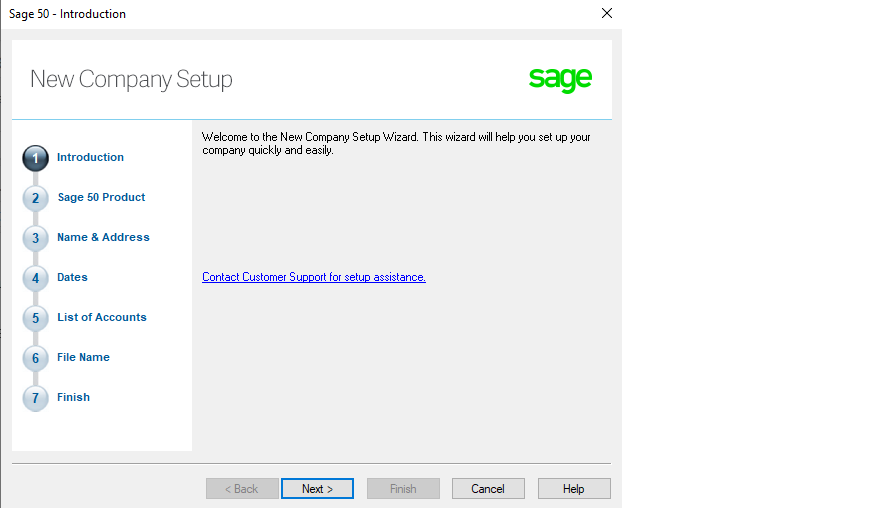
your now in the New company setup screen. click Next.
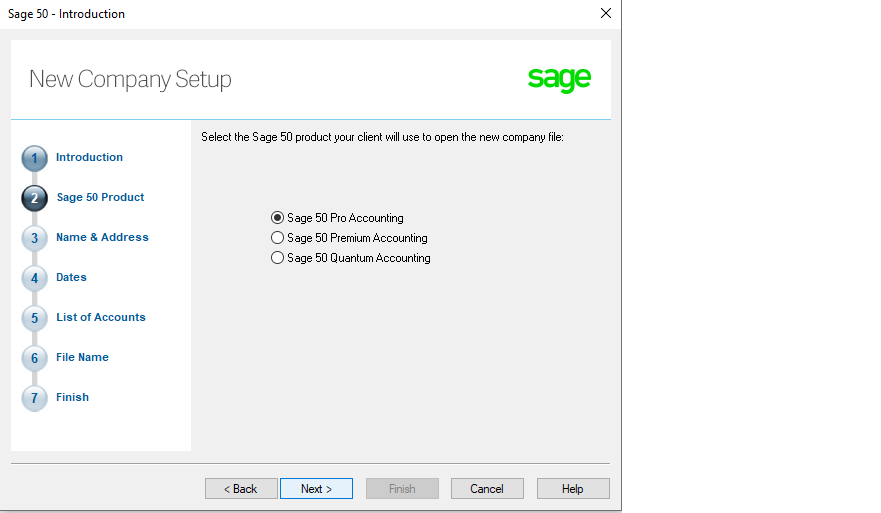
This is the company setup and products. Choose the version of Sage that you want to use. In our office we run the Accountant Edition version because of its capability to open all other versions of Sage 50.
EX: If at any given time the client requests for a backup of Sage 50 data to be installed on their home office computer, the programs have to be compatible. I normally keep the data in Sage 50 Pro version even though I have the Accountant Edition installed.
In that case choose Sage 50 Pro Accounting and click Next.
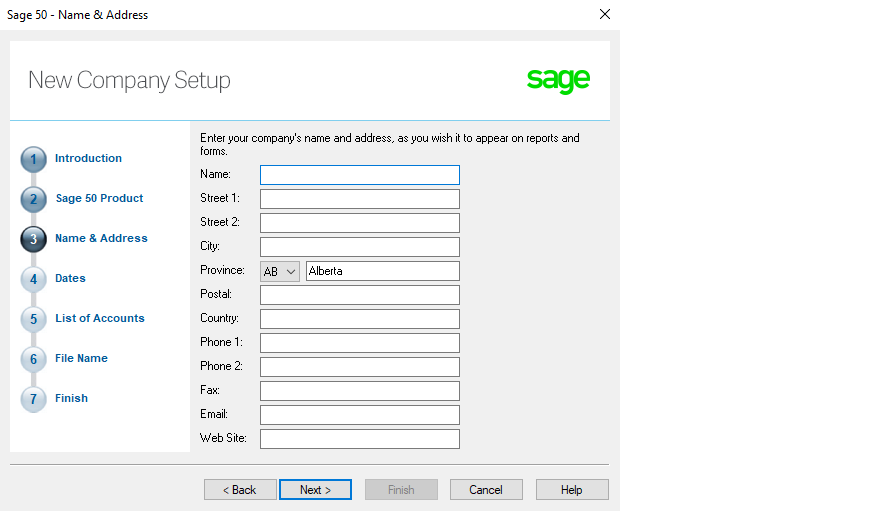
In the Name and Address section input any information about the client. You can always edit after company has been created. if you don’t have any information yet click Next.
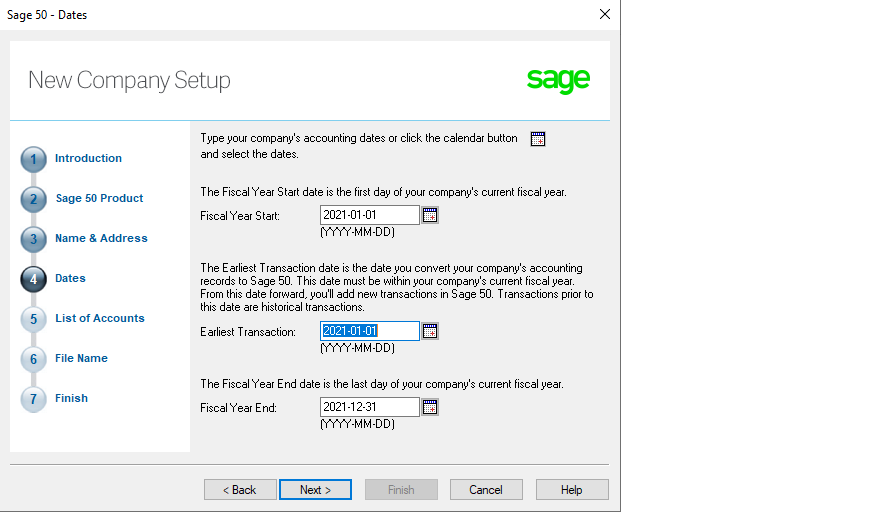
This section is for the company fiscal year. If the company’s legal entity, registered with CRA, is sole proprietorship or partnership, the fiscal year will be January to December (calendar year) for income tax purposes.
If the legal entity is Limited, Nonprofit, or Corporation, the fiscal year end can be any time within the year but cannot go over 365 days.
Ex: March 1, 2020 to February 28, 2021. Usually if you take the start date of your business, from the first transaction, and go 365 ahead and that will be the fiscal year end. Note: if your business start date is September 14, 2019 than choose a month end cut off of August 31, 2020 and not August 13, 2020. will be easier for income tax filing as well as bookkeeping.
This sample company is set up as a sole Proprietorship so the fiscal year is the same as calendar year (January to December.) Click Next.

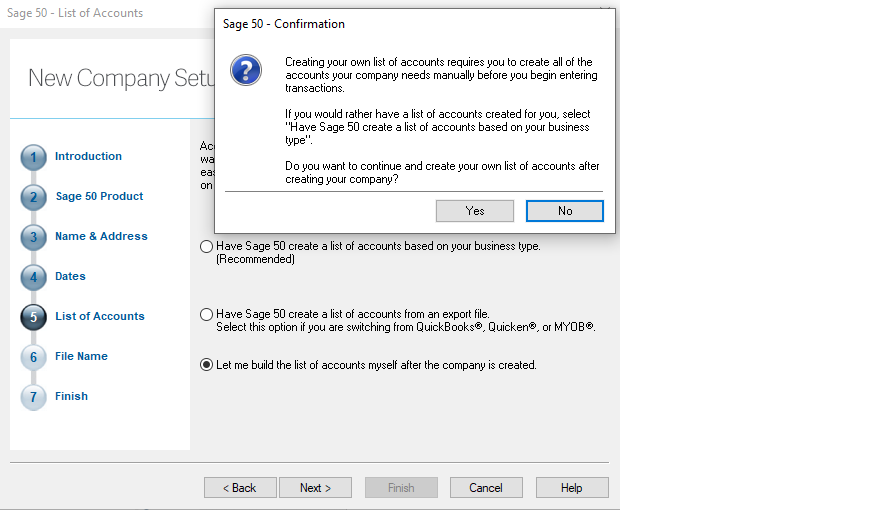
To choose a method best fits to create the chart of accounts. The chart of accounts is a list of the accounts used by your business. It can be used to analyze your income, expenses, assets, liabilities, and capital when running reports. This helps you to see how the business is performing at any moment in time. So, it is important for each account created to reflect the business activities. In this tutorial we will build a list of accounts from scratch after the company has been created. Go ahead and choose that option and click Next. A confirmation screen will come up, click Yes.
Option 1 is also available (Have Sage 50 create a list of accounts based on your business type) But for further customizing, there is always the chance that some accounts need to be removed or added.
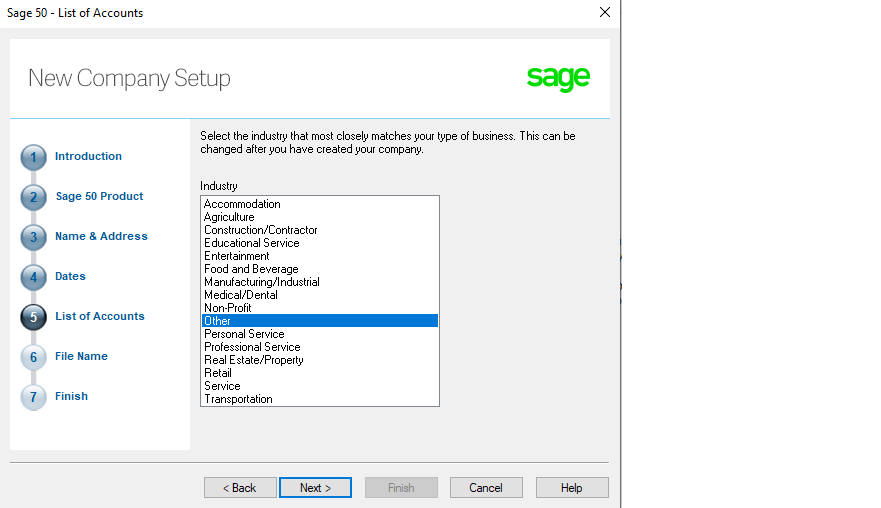
next screen is to select the industry. Go ahead and choose the one that best fits the clients business or you can choose Other. and click Next.
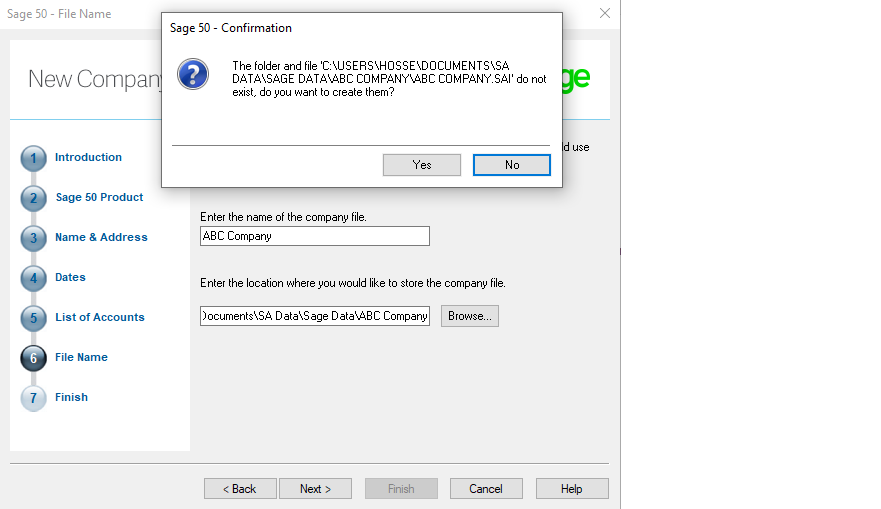
In the next screen the system wants a file name and a location to save the file. The file name is the company name and the location is where you have all your client files saved. Normally under Documents folder.
Our files are saved under Documents – SA Data – Sage Data – ABC Company.
Press Next.
You will be prompted that the folder and file does not exist, press Yes to go ahead, and create.
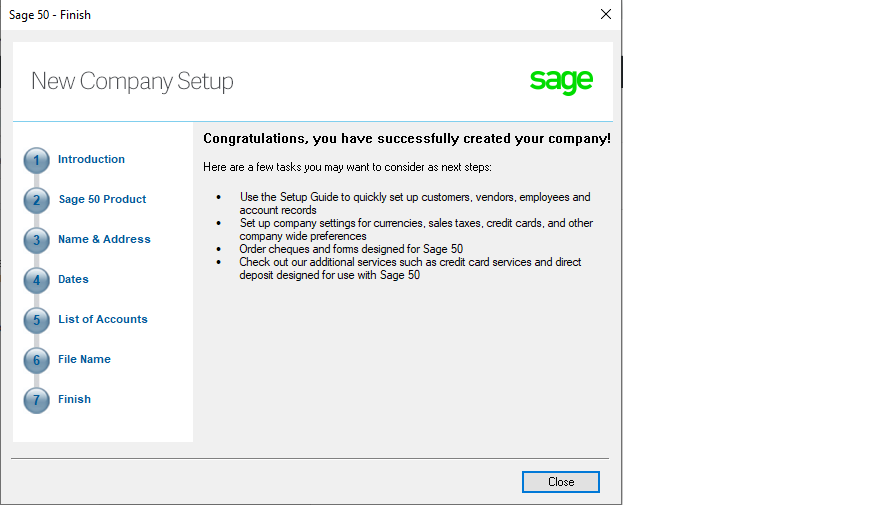
You are now at the finish line. Press Finish. This will take a moment to create all the data you have imputed.

Congratulations you have created your company. Press Close.
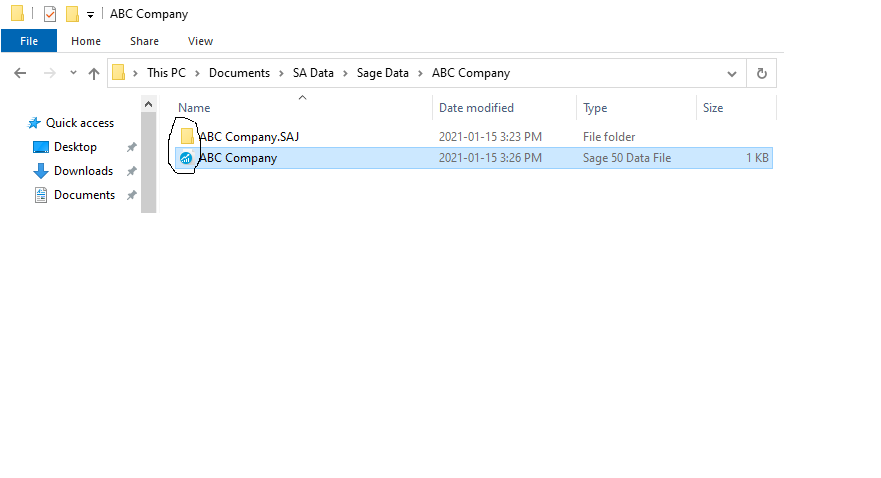
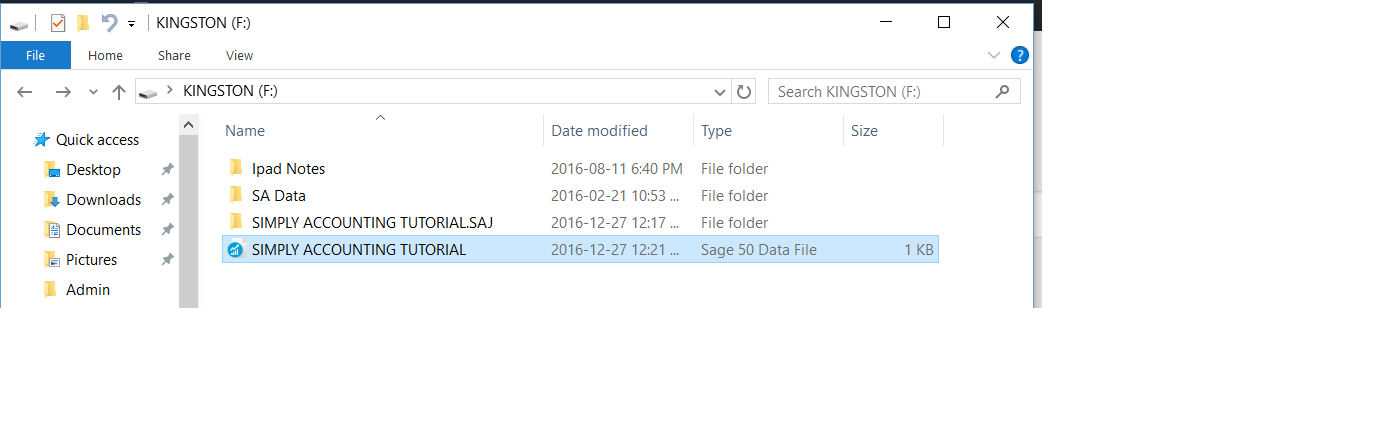
Once the data is created and saved on your hard drive, it’s good to know that Sage 50 creates a file and a folder that work together. you can not have one without the other. every time you create a company, Sage 50 creates a folder with extension .SAJ and a file with extension .SAI. in the picture below the file does not show the .SAI extension but if you right click on the file and choose properties it will specify it in the Documents Properties window as a .SAI file.
The home page of ABC Company shown in Enhanced view. A few items to note. Sage 50 has a Classic view and a Enhanced view. We will switch to Classic View. Also at the bottom right-hand corner is the version your working in. so, even though the software is Accountant Edition, the data is in Sage 50 Pro Accounting.
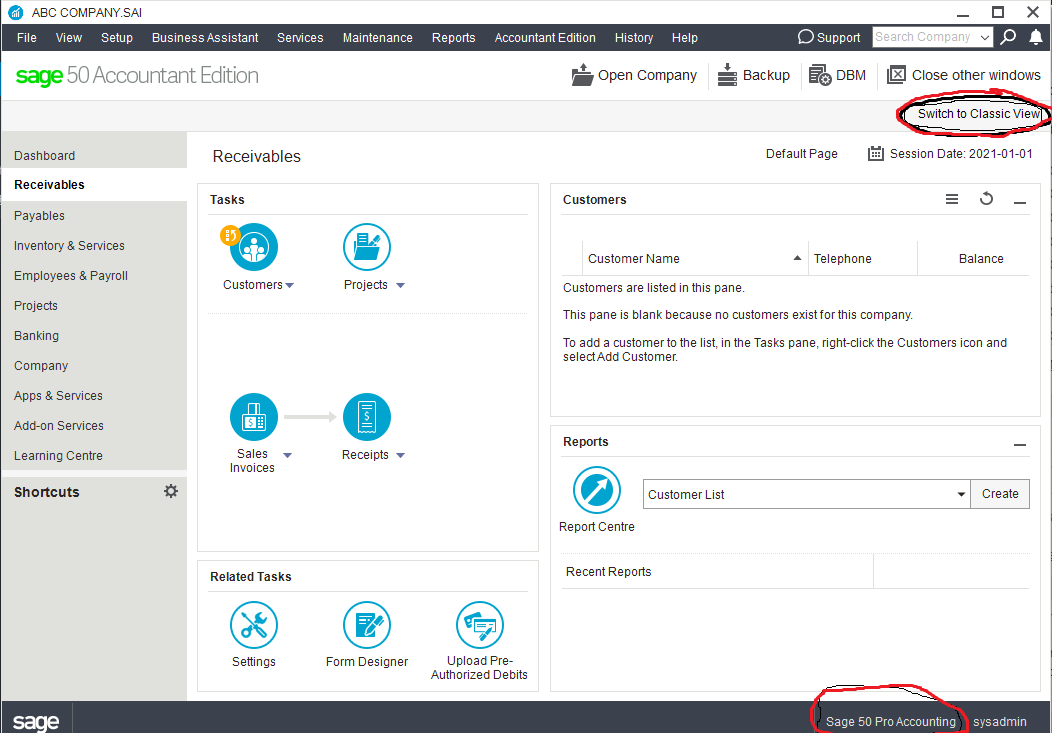
Go ahead and choose Classic view.
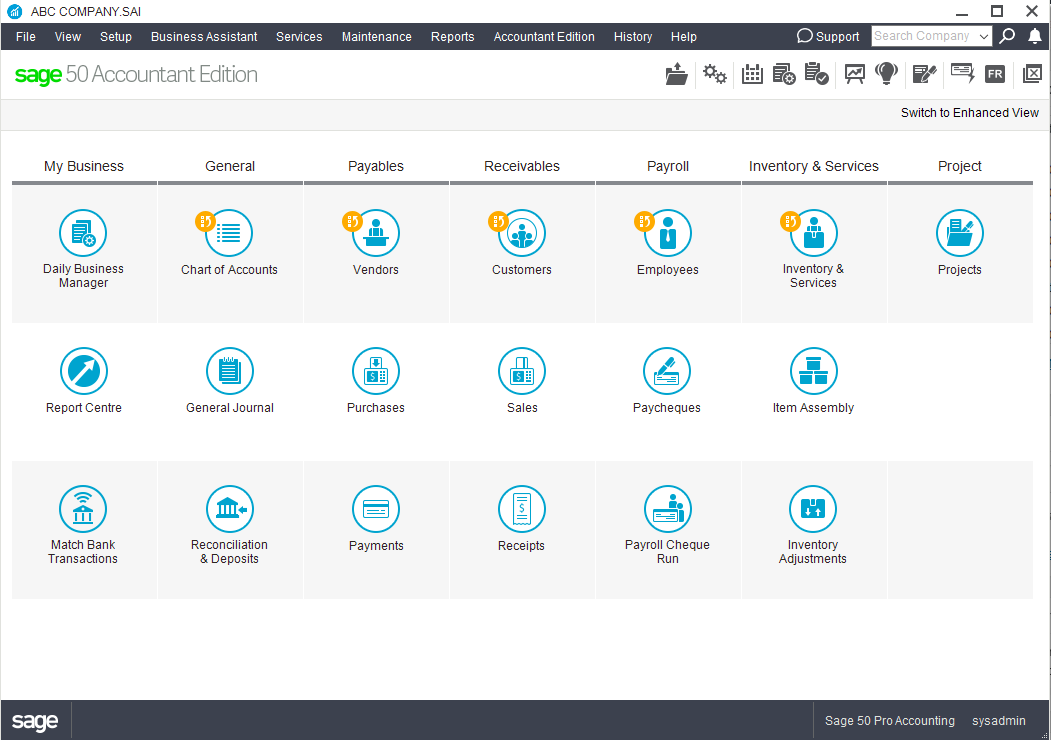
This section of Creating a Company is complete. next section will be how to create a chart of account and all the integration of linking the accounts.
Save As or Backup
Lot of people ask me if they should Save As or Backup.
When you first install the program and open the data to start entering transactions, Sage makes a file and a folder with the same name but the extensions are different. the folder has an extension of .SAJ and the file has an extension of .SAI. These two work together. you can not have one without the other.
Because you should backup after each session to make sure your data is safe, to do it this way takes up a lot of room on your hard drive or external drive. it is not feasible to save data this way so, Sage has a Backup feature.
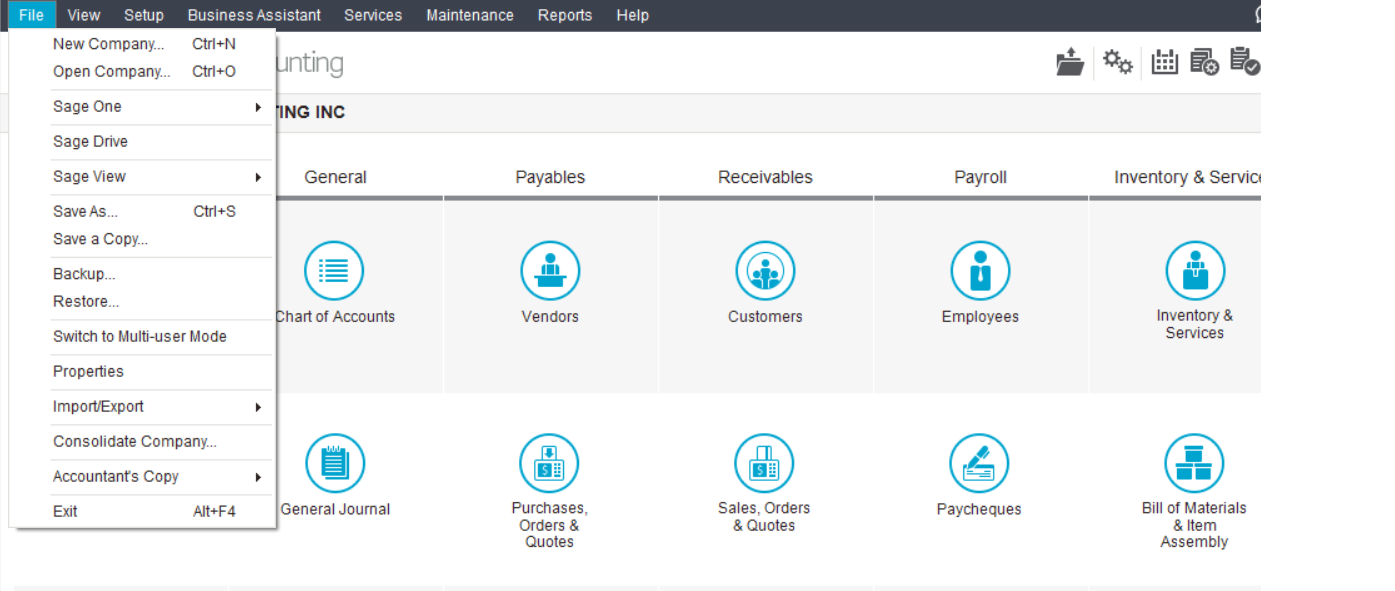
Now, Choose Backup from the file menu.
The backup Box will open.
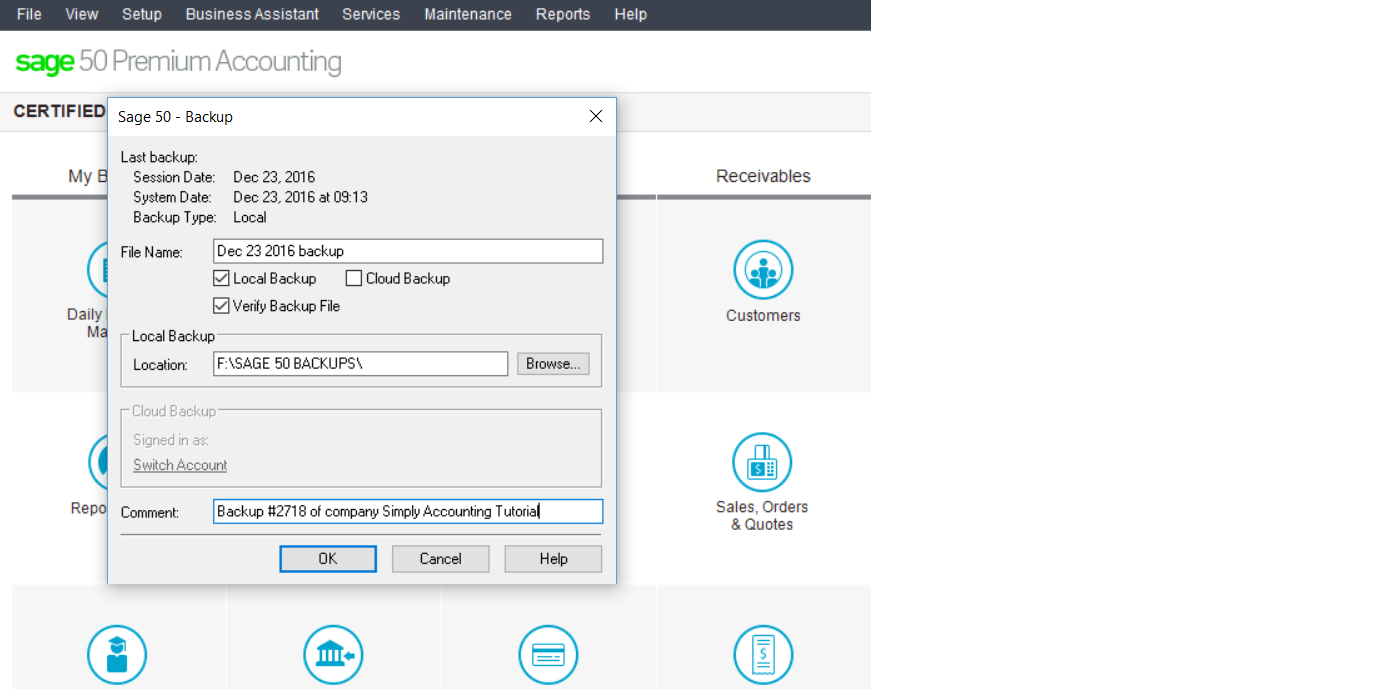 where you can issue a unique file name and assign the location of the backup.
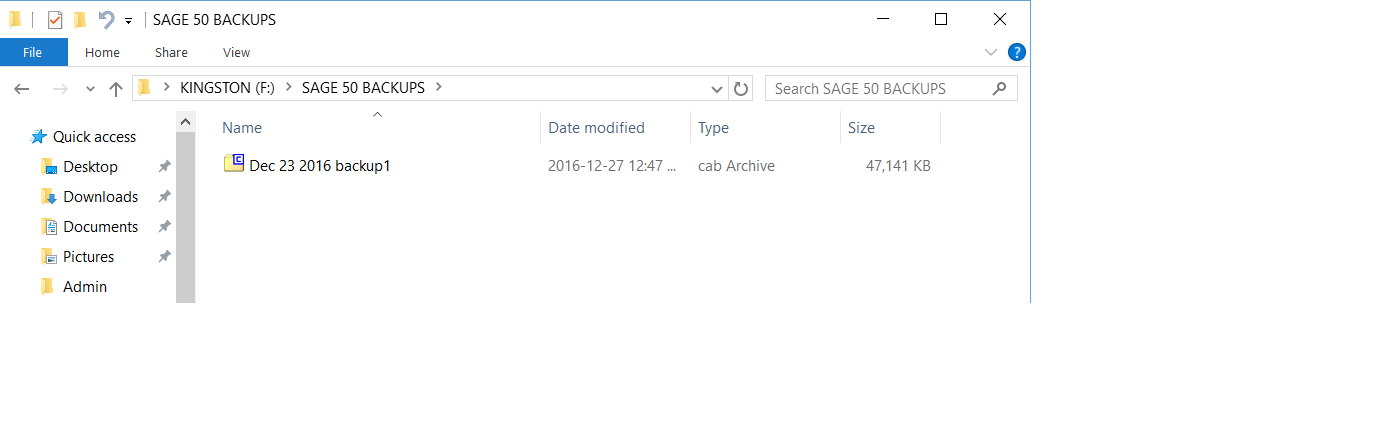
This will be a cabinet file and takes up less room on your hard drive or external drive.
If for any reason you need to access this backup, from File menu choose restore.
Hope this little bit shed some light on Save As vs Backup.
If you have any specific questions I be happy to help.