GST / HST setup for Provinces
This tutorial walks through how to set up sales tax (HST, PST and GST) for different provinces in Canada.
Lets get started.
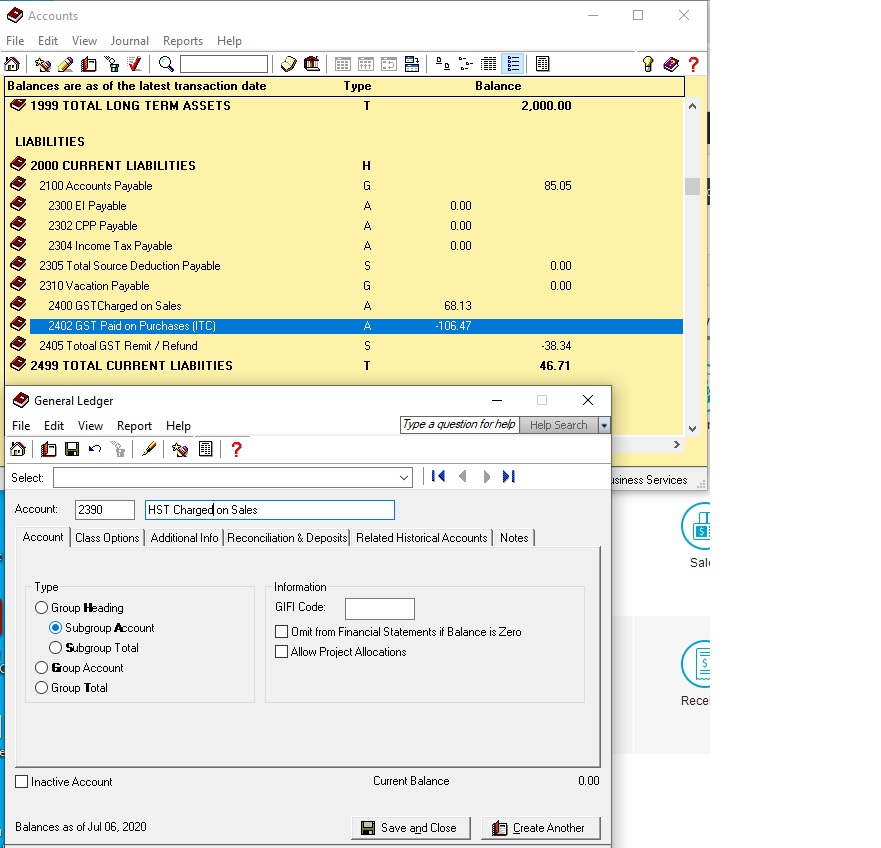
First we need to create an account in the Chart of Accounts to track the HST and GST charged on Sales.
go to Chart of Accounts and click on File – Create.
I created account number 2390 and called it HST charged on Sales. I already have GST charged on sales account. Make sure the Type is a Subgroup Account is ticked so it lands in the same area as other GST accounts. because when you get a report all the GST and HST on Sales will be in the same area.
Click Save and Close once your done.
Now from the home screen drop down the Setup menu – Settings – Company and Sales Tax.
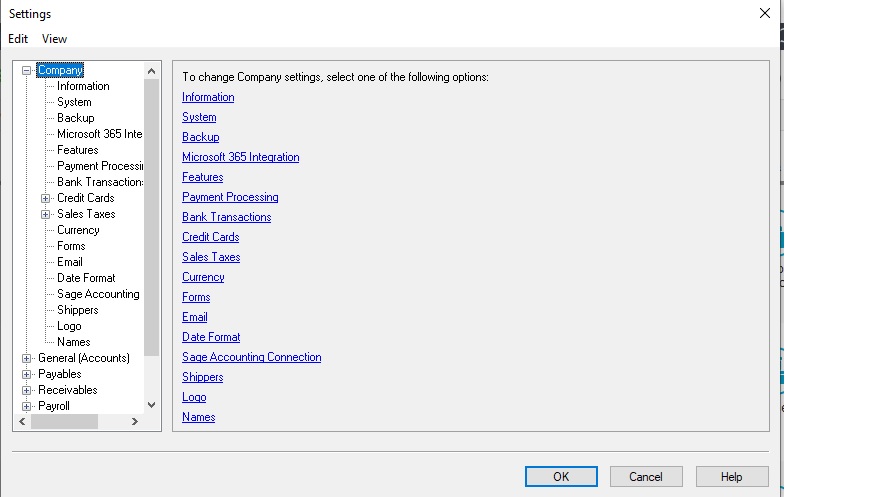
Once Sales Tax is chosen click on Taxes and add the new HST Charged on Sales account you just created and click OK.
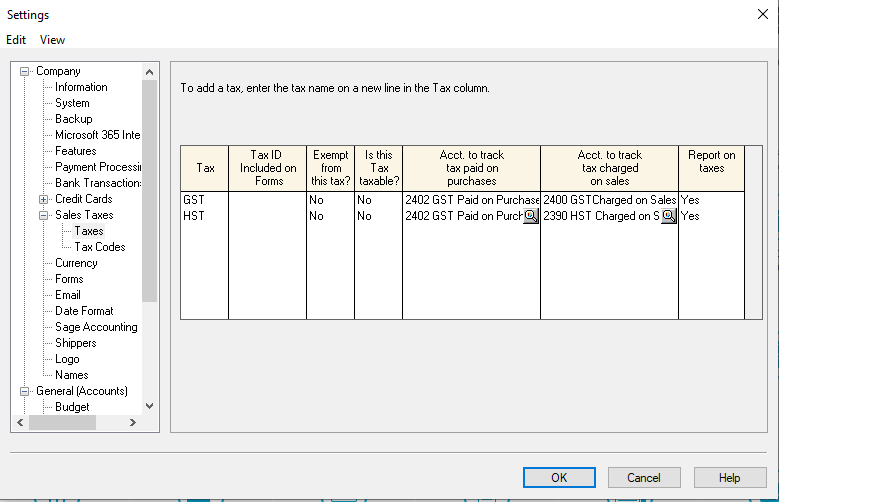
the system puts you back to the home screen. once again go back to Setup – Settings – Company – sales Tax and this time choose Tax Codes. List all the provinces that you sell to.
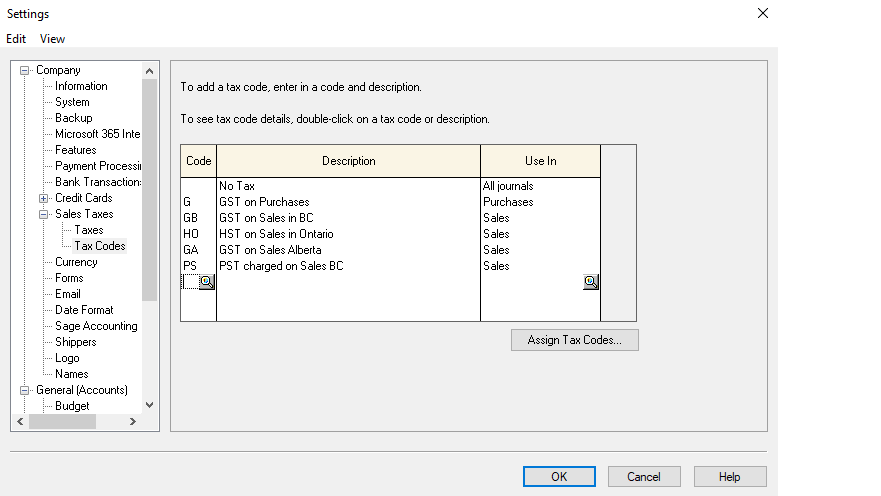
Now you need to give each province its own tax rate by clicking on each code and going deeper into the program.
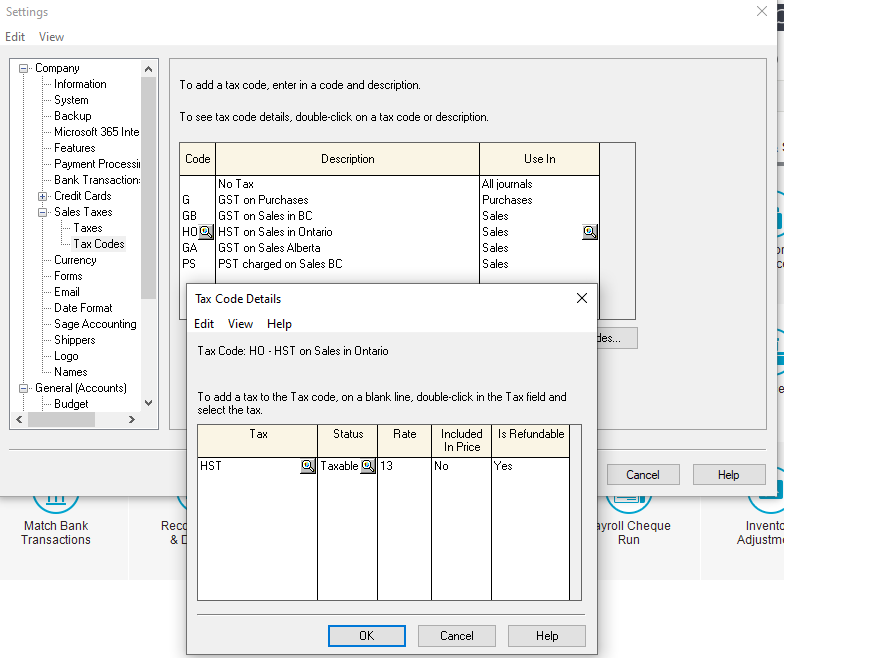
the rest of the provinces can be set up the same with their own providential tax rate.
Hope this helped.
let me know if you have any other questions. Sorry for the delay in replying. I was helping our daughter and her kids this summer. But I am back at my desk.
Merging Two Companies Together
This was an interesting question where sometimes you need to merge 2 companies financials into one data base.
Either the Chart of Accounts can be utilized to accommodate the new company by issuing new set of account numbers.
or
The Project section of Sage can be used.
This tutorial will show you how to use and change the Project name to Departments so it makes more since in this instant.
at the home page drop down the Setup menu and choose Settings than Projects.
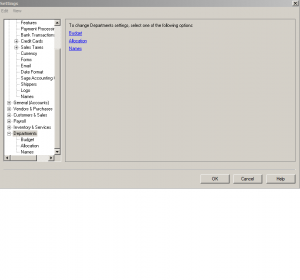
here you have three choices, Budget, Allocation and Name.
lets change the name from Projects to Departments.
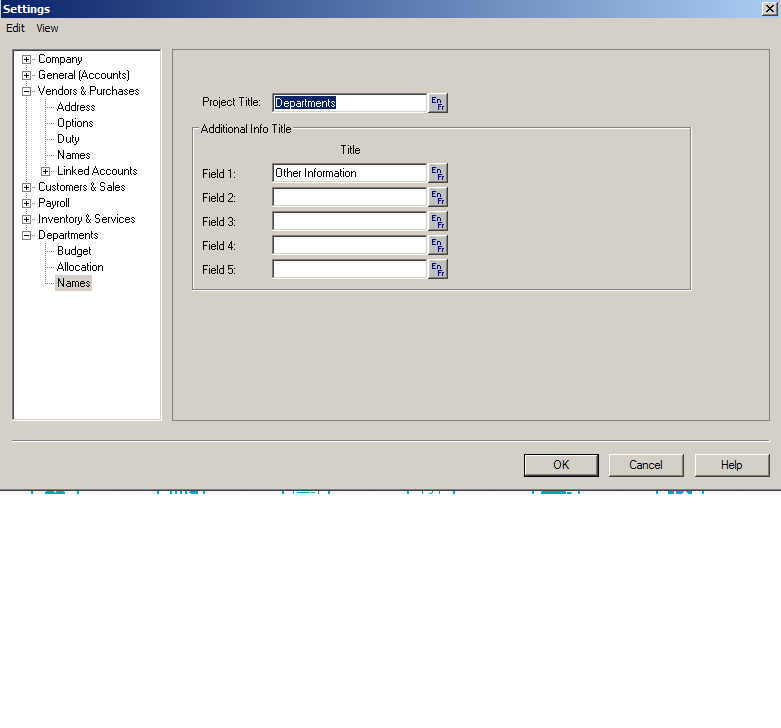
press OK to Save.
Now its time to go into the Chart of Accounts and allow allocation for each appropriate account number.
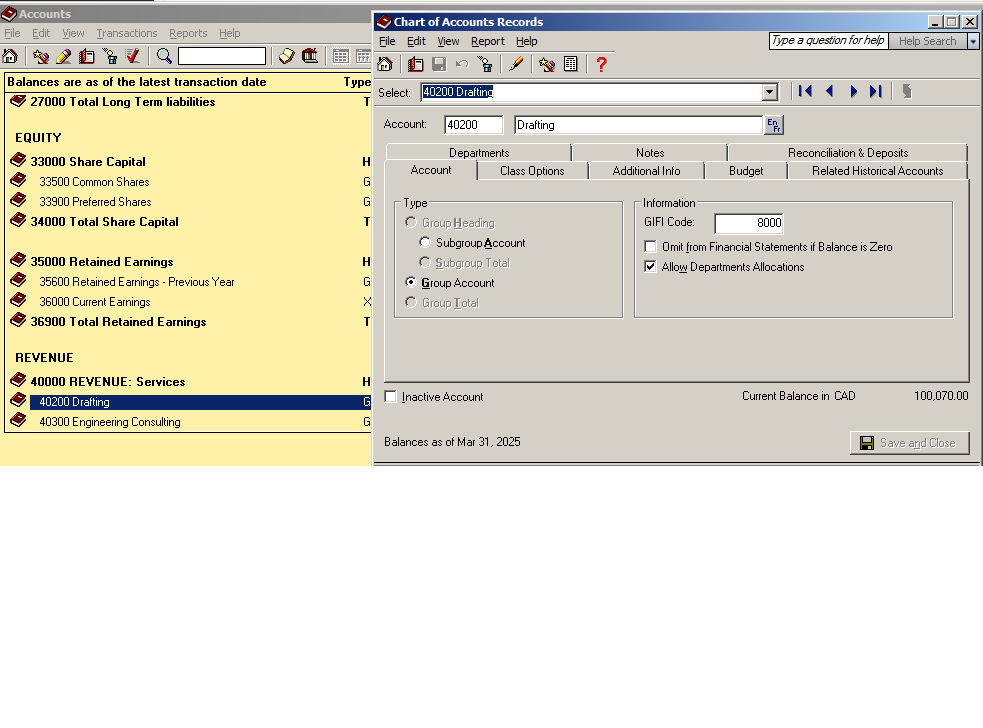 once that is done you can start posting entries and allocating.
To obtain a report, from home page drop down Reports menu – Department – Allocation.
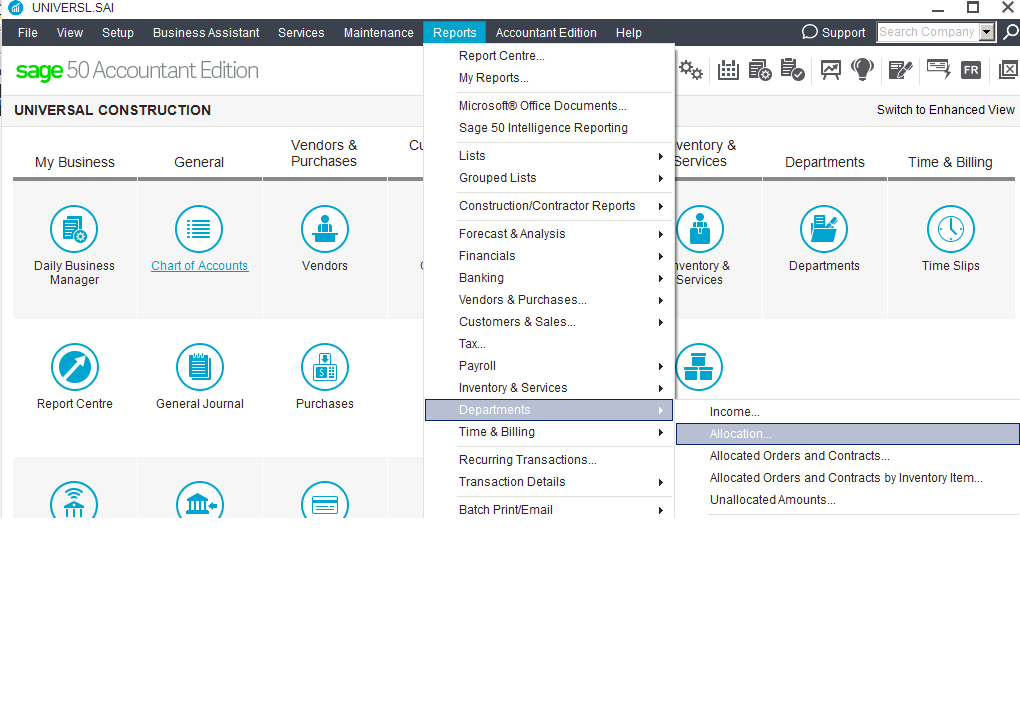
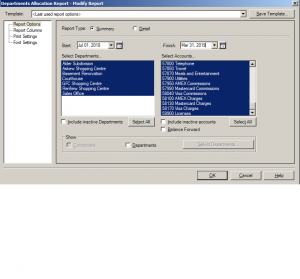
Here is what shows up for department allocation. Click OK to see the report.
 Hope this tutorial helped.
Let me know if you have any other questions.
nk