Cheque Format Under Reports & Forms
This tutorial is how to make changes to a pre-printed cheque.
In the home screen drop down the Setup menu – Reports & Forms.
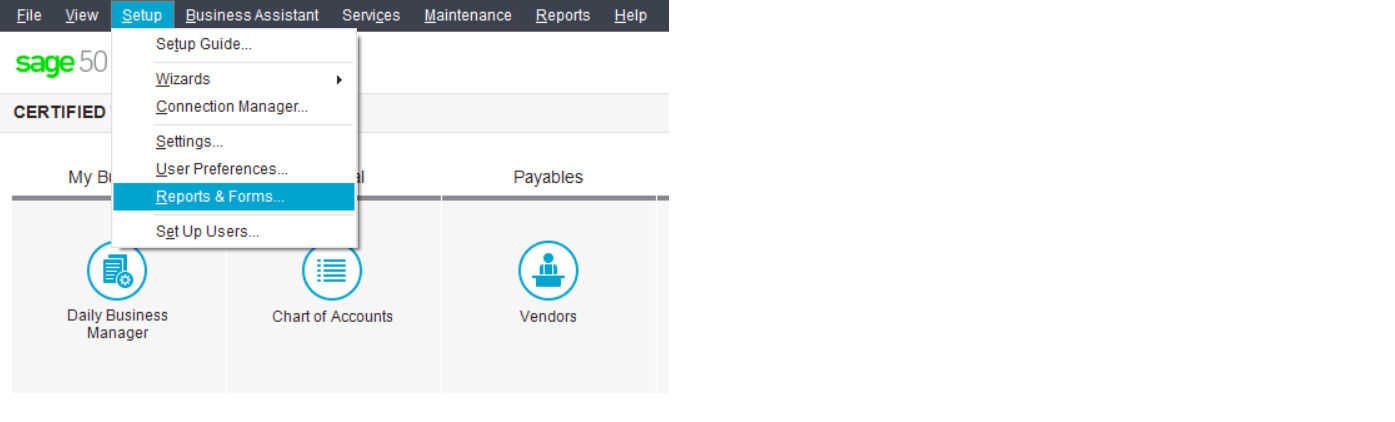
On the left hand side click on Cheques.
You can see that there are a lot of other forms that can be changed. But right now lets look at the cheques.
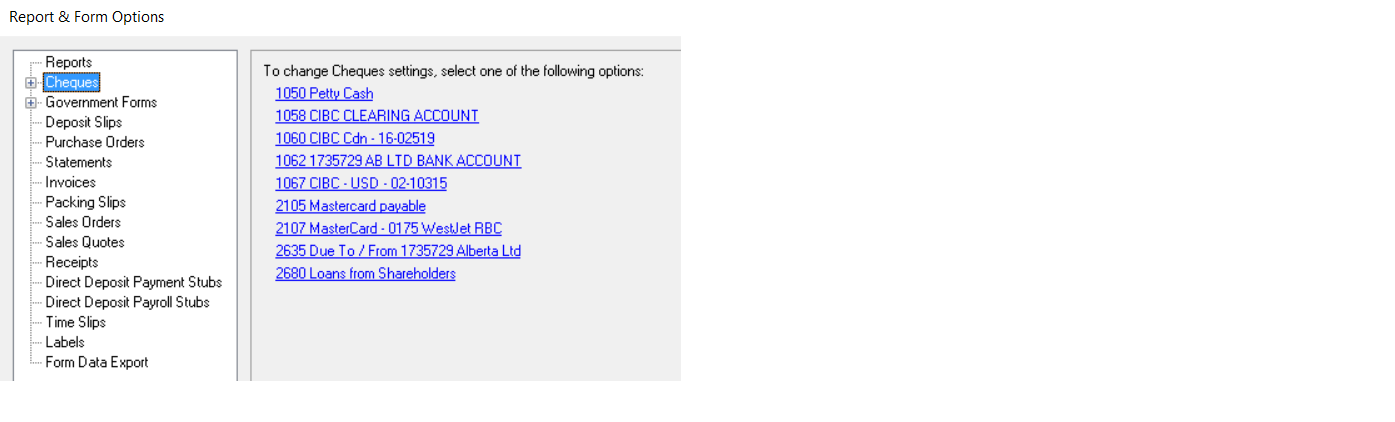
Pick the bank account that you need to change the cheque for.
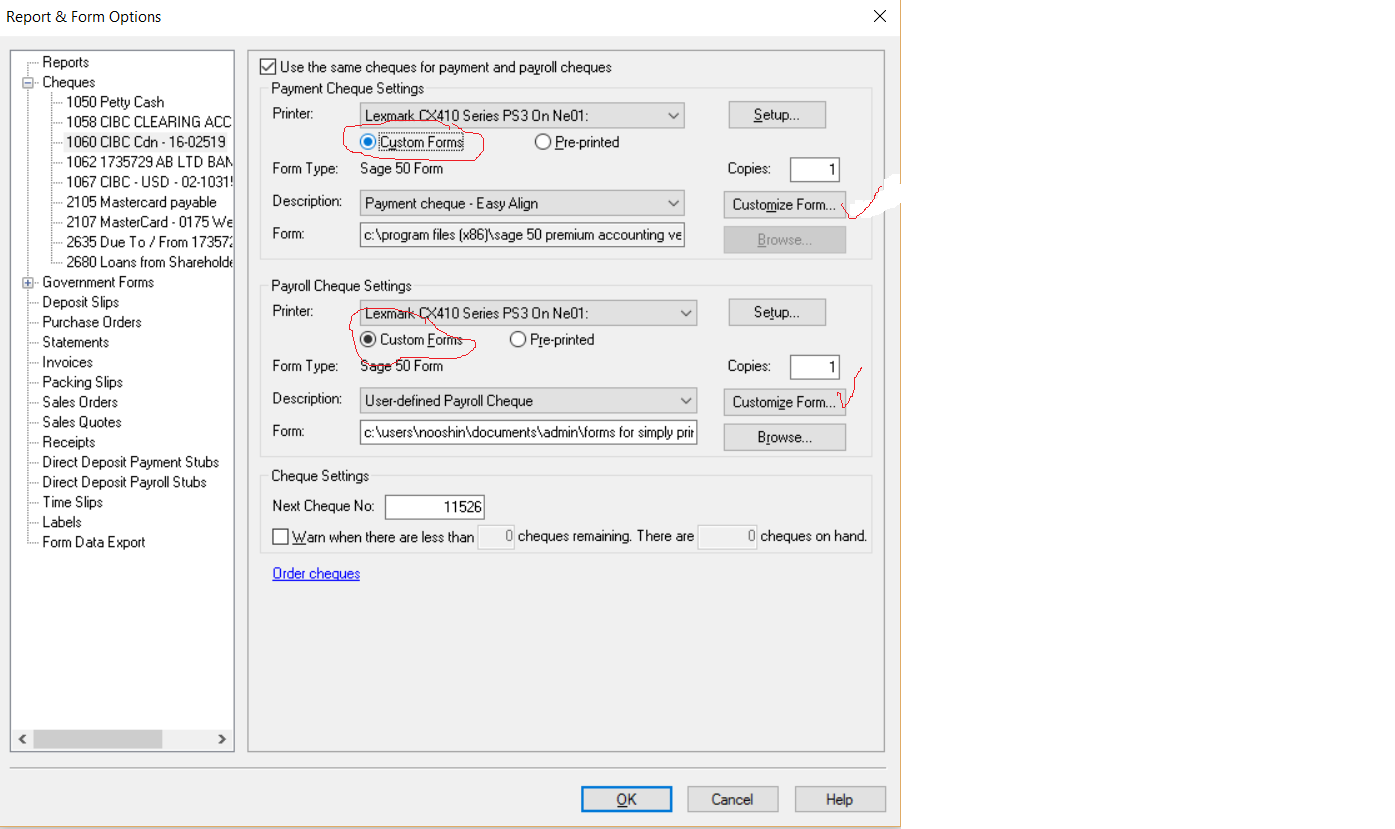
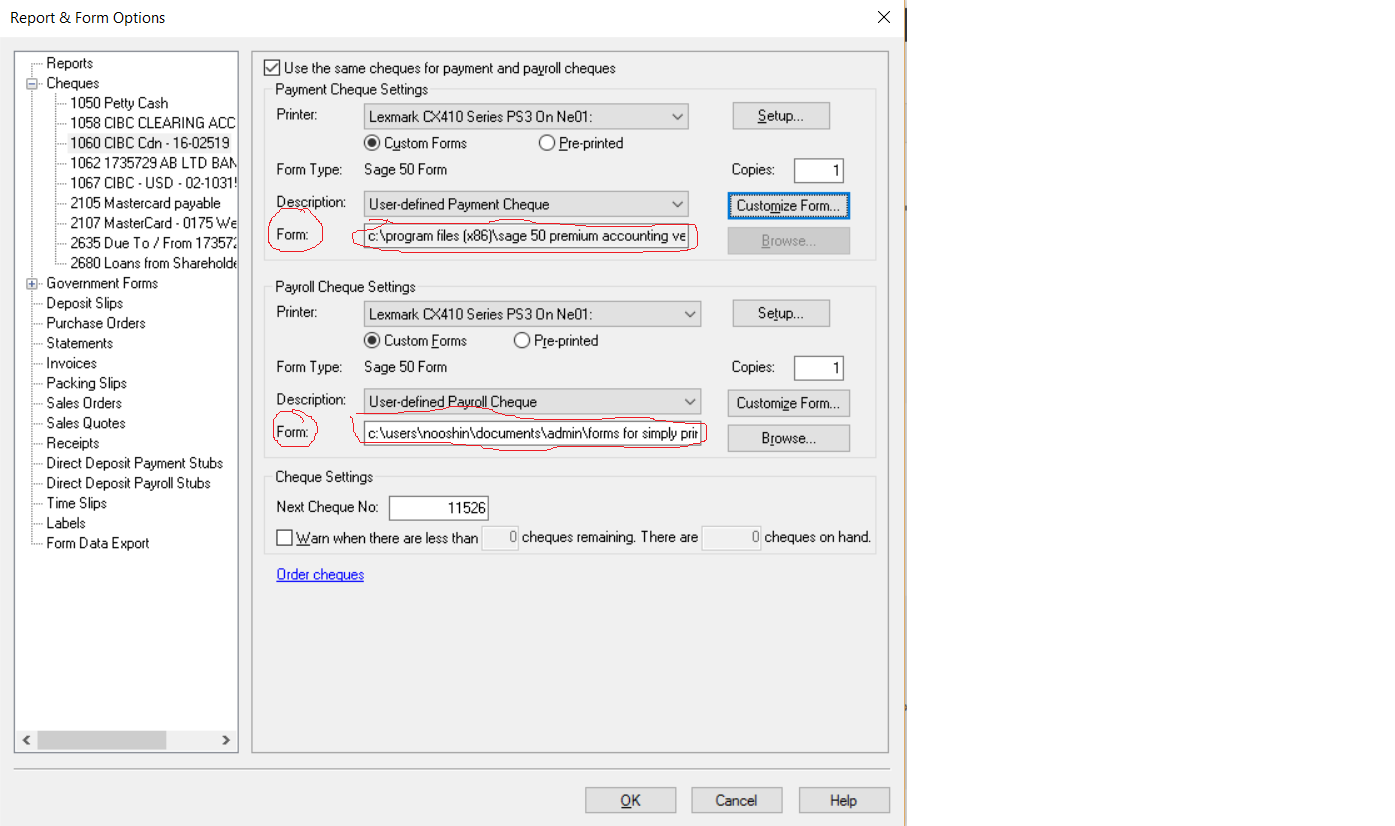
on this screen there is a section for Payment Cheque Settings and Payroll Cheque Settings.
The Custom Form needs to be checked off in order to choose Customize forms.
Click on Customize Forms.
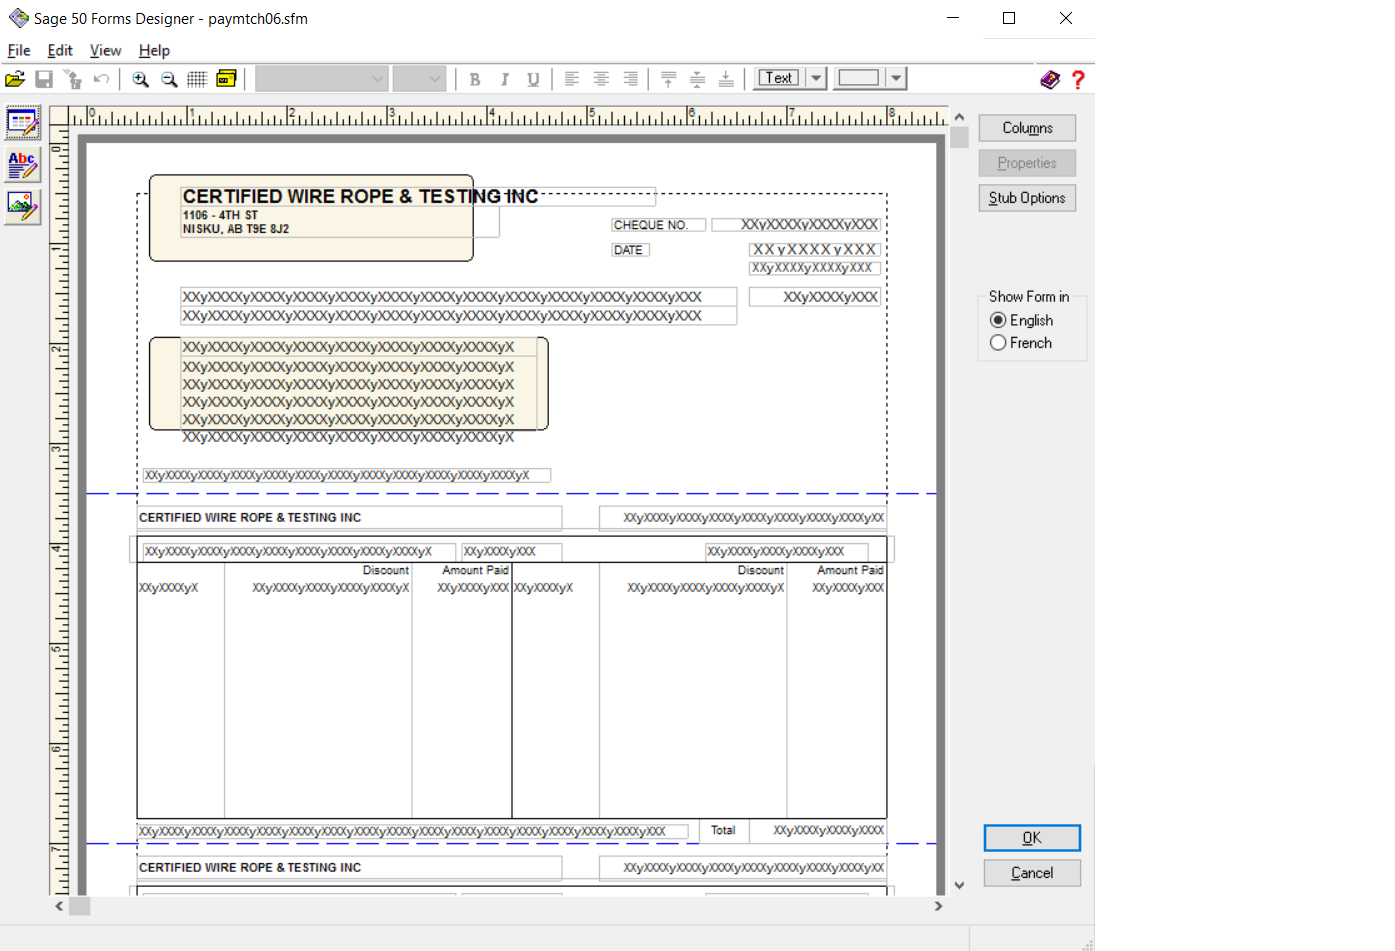
This is your cheque and you can change anything you want on it.
Once your changes are done you must save it. Click on File – Save As.
Make sure you know where you have save it and because there is payroll chq as well, it is a good idea to name the file Payroll or Payable cheques.
Click on OK once its saved.
The file name has changed. You can copy and paste the file name the file name from Payables and paste into Payroll.
The file name is important because that is where the program will look to get info to print the chq.
Hope this tutorial helped.
Let me know if you have other questions.
nk
Error: Sub ledger does not equal Control account
so, everything is posted as a journal entry and the system should leave history mode but your getting nasty error.
Here is what it means and how you can fix it.
The AR control account # 1200 has a balance of $3879.75.
This balance needs to also reflect in the Sub-Ledger.
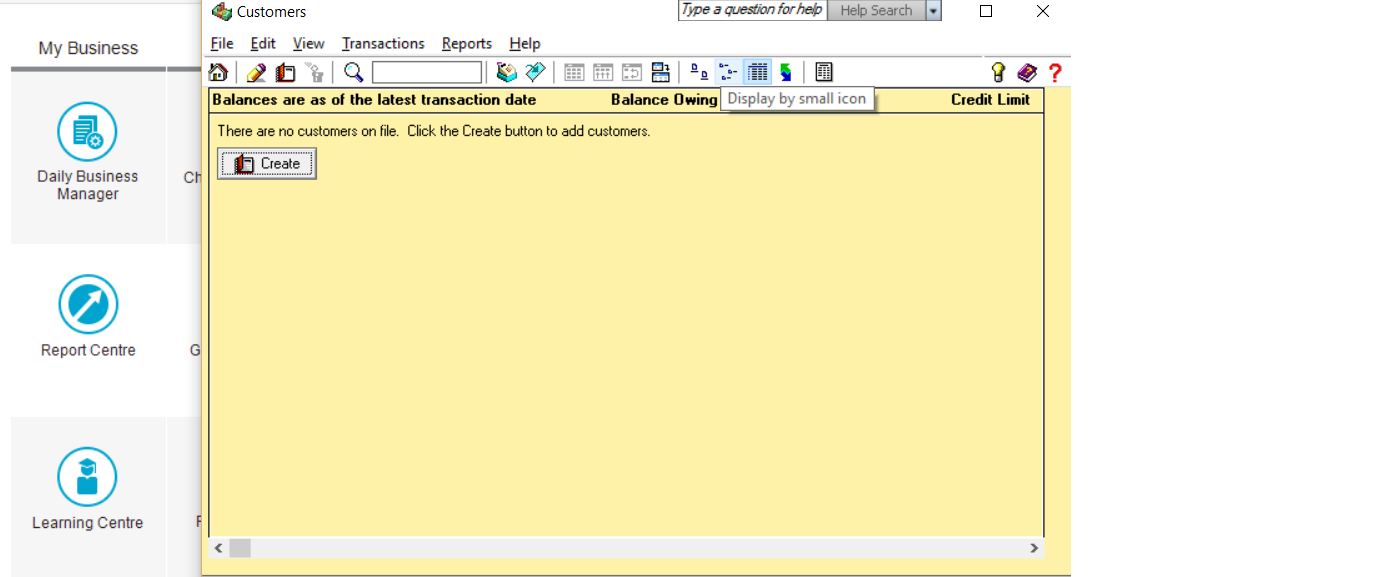
Drop done the File menu and select Create.
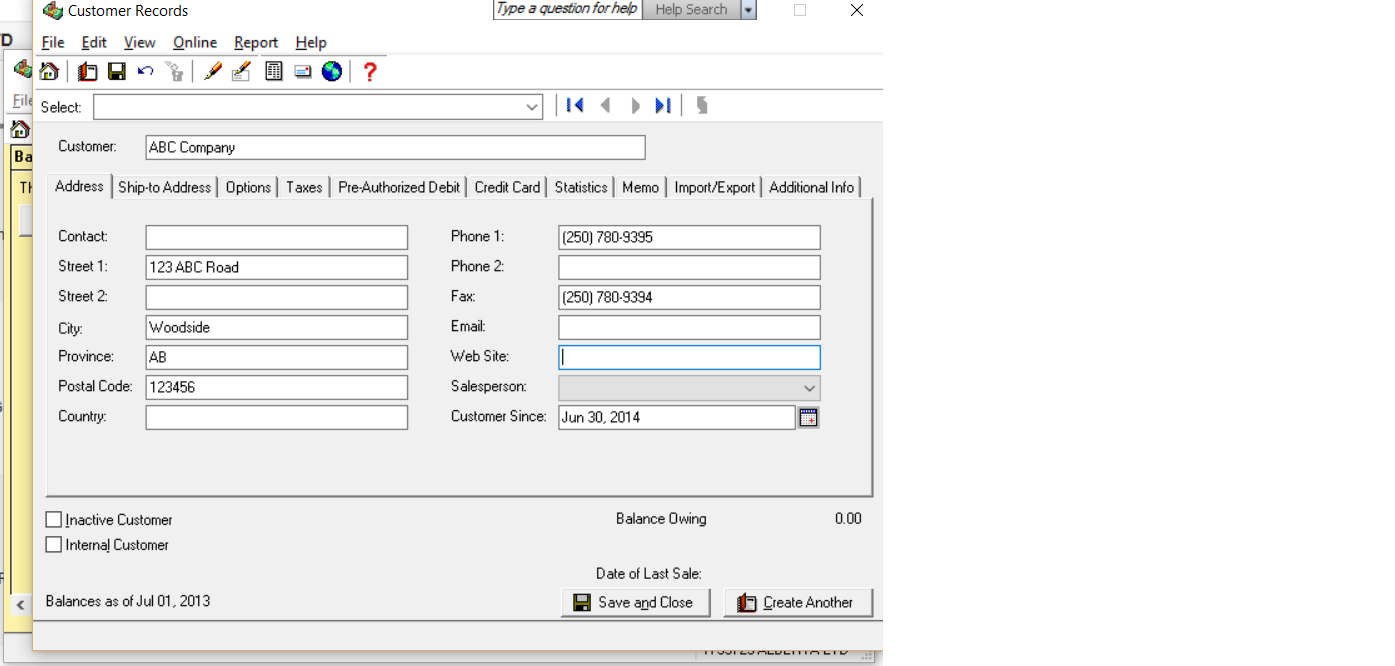
for each customer created go into the history tab. The tab does not show here because I am no longer in history mode but yours should.
You can enter outstanding invoices or credit notes.
once this is done look at the customer detail report and made sure the sub-ledger total equals the control account 1200 on the balance sheet.
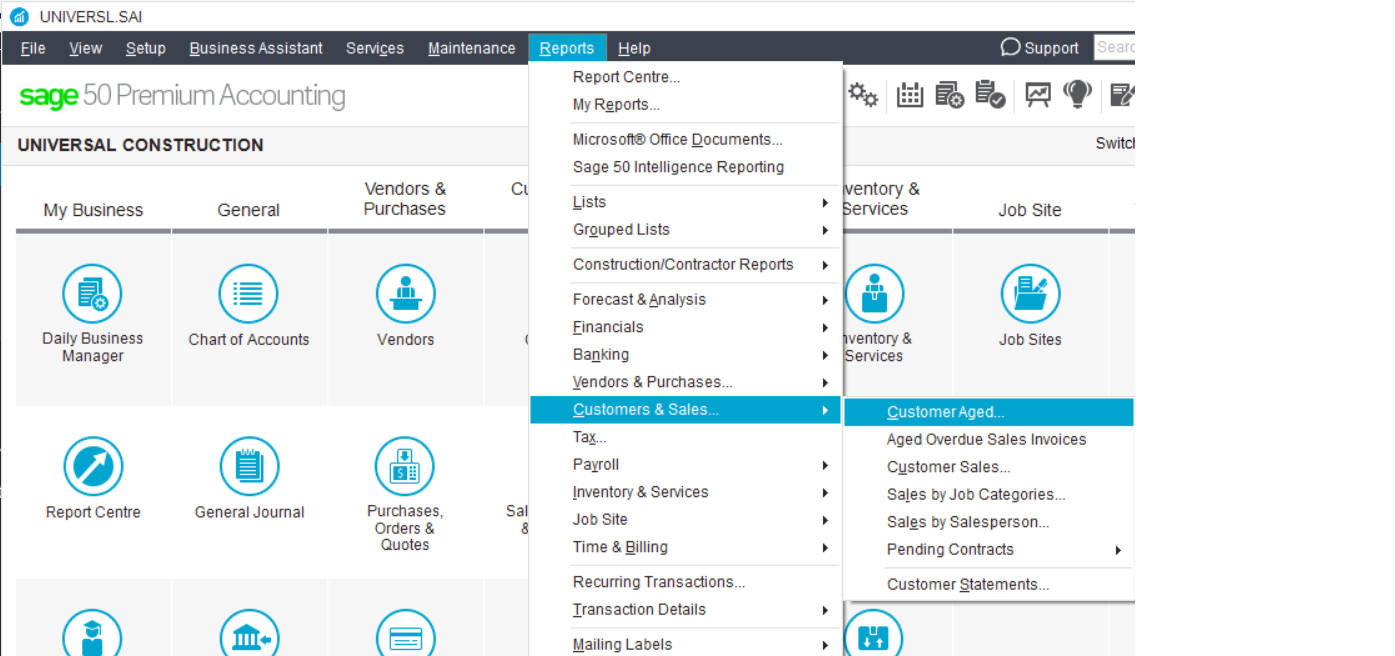
Drop down Report menu – Customer & Sales – Customer Ages.
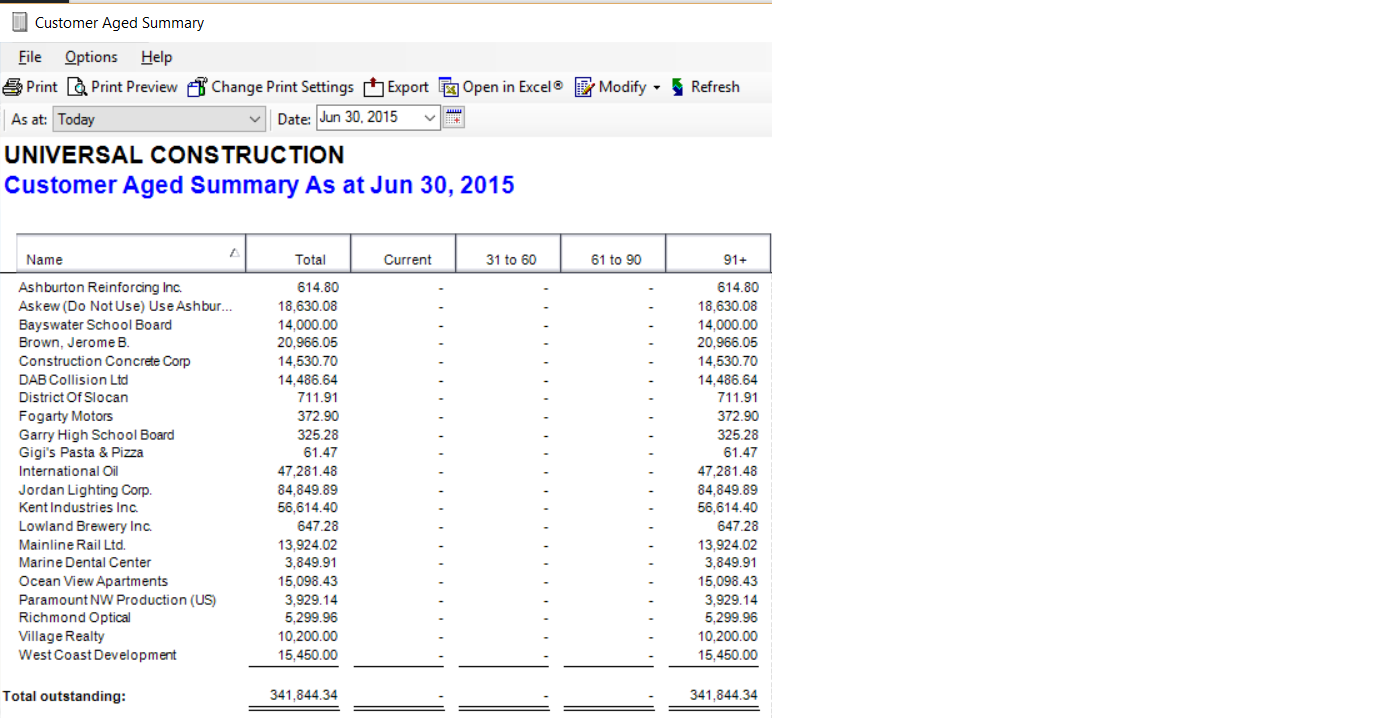
take a note of the balance in the total Colum.
Now pull up a balance sheet report.
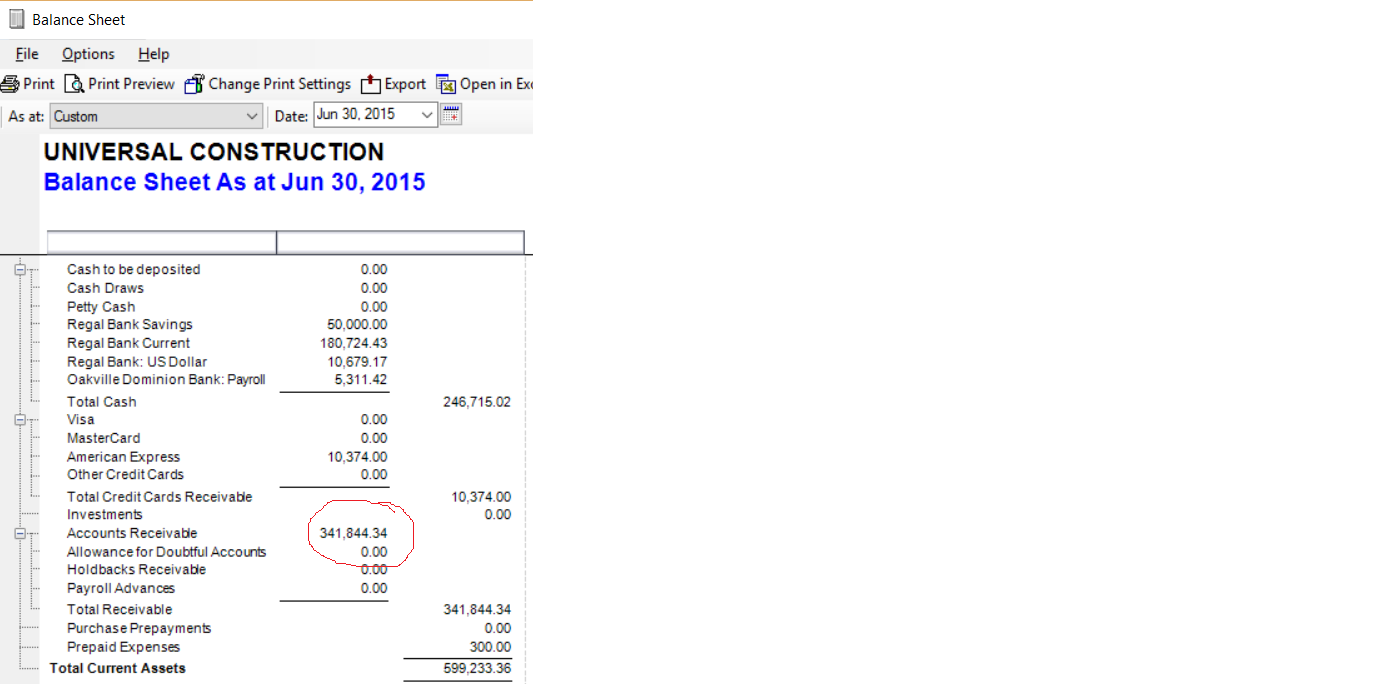
and the two are in balance.
Once you go through this exercise and set up the customer profile and add the invoices and credit notes under history tab than you should be able to advance into 2016.
This must also be done for accounts payable.
Good luck.
Hope this tutorial helped.