Link Account & Integration P1.
For this tutorial Sage Simply Accounting 2019 Accountant Edition is being used.
If you are a beginner to Sage 50, you might want to allow it to create the chart of account for you and link the accounts for integration purposes automatically. It will work ok except each company is different and needs its own unique and customized chart of accounts.
for how to build a chart of accounts from scratch and gear it to your company’s needs follow the link below. Otherwise this tutorial is what to do after the chart of accounts has been built.
lets get started. drop down the setup menu from the home page and choose settings. this is what you should see.
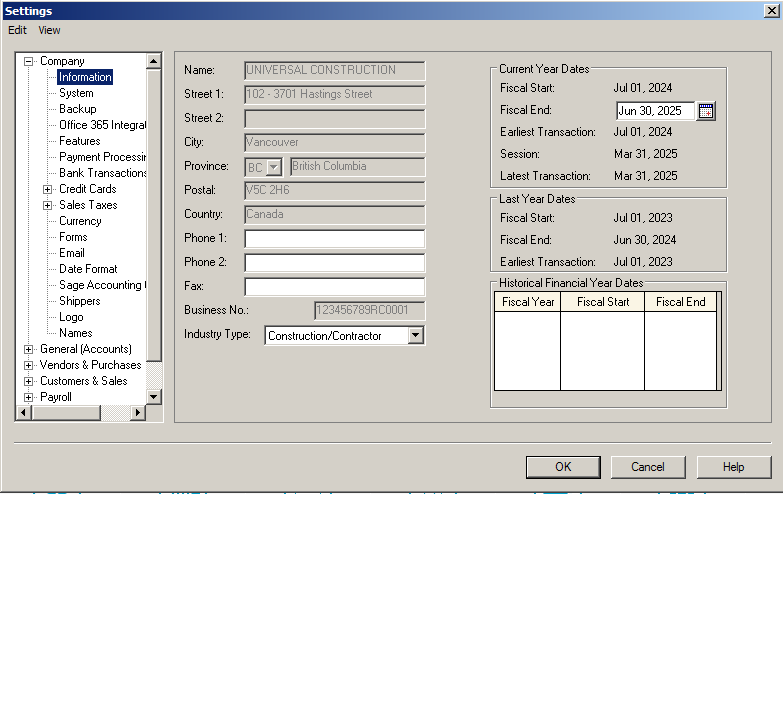 we are going to integrate these settings into the chart of accounts that you built.
The sections going to be covered are:
Company, General (Account), Vendor & Purchases, Customers & Sales, Payroll, Inventory & Services and last is Departments.
keep in mind that what we do here is not written in stone and can be changed at any given time.
you are already on Company – Information. this section is pretty self explanatory except maybe the fiscal start and end dates.
If you are a Sole Proprietorship or a partnership your start date is when ever you began having transactions and your fiscal year is always December 31. EX: if your first business transaction is April 12, this is considered as the fiscal start date and the fiscal year end is December 31. Your first year will be a short year but the following year will have 12 consecutive months.
If you are a shareholder of a Limited, Crop, or Non-profit, you can choose your fiscal year end. The fiscal start date is the incorporation date, The date your company is registered with the province and the fiscal end date can not exceed more than 365 days. Ex: is your incorporation date is April 12, than your fiscal end date should be March 31. you can choose a calendar year end, Ex: Dec 31. in this way you will have a short year (April 12 – Dec 31) and the following year will be 12 consecutive months.
Next: click on System.

From the top, Cash Basic Accounting. CRA does not look positively on Cash Accounting. This means that if your fiscal year end is December 31 the accounts payable is zero (you don’t owe any money to suppliers) and accounts receivable is zero (your customers don’t owe you any money).
But in reality, and normal course of business you will have accounts payable and receivable balances.
let’s say on December 15 you send out a sales invoice. your customer has 30 days to pay. so, on December 31 this amount is owed to you. and same with your suppliers or utility bills. you might receive the bill in December, but you will pay it in January so at the end of December it will be owed and outstanding to be paid.
CRA wants all sales and expenses to be recorded regardless of whether or not they have been paid.
The rest of this section is your preference if you like to use cheque number or enter transaction in the future. keep in mind you can always change and update these settings.
Next: click on backup
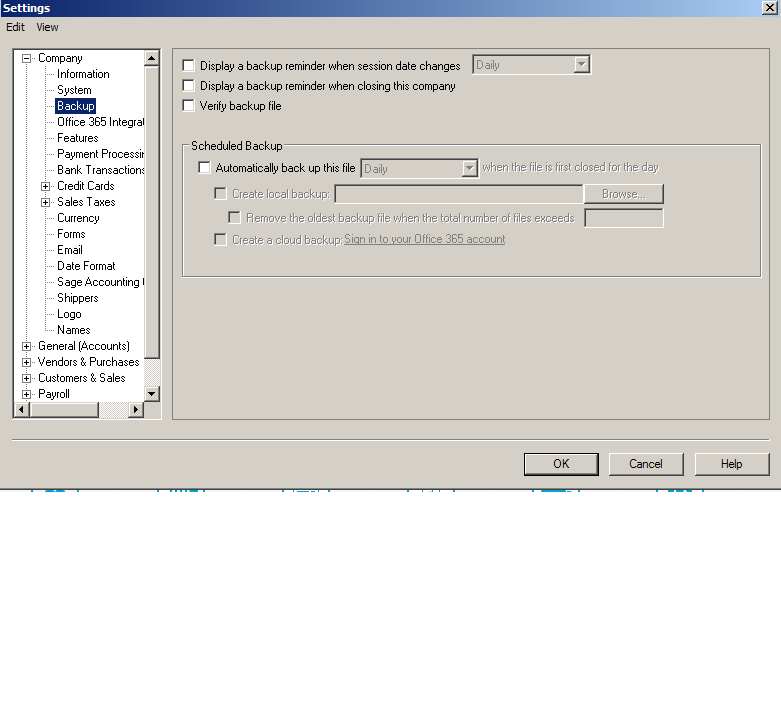 This is the backup options. How often and how to remind you to backup. Its very important to have a regular backup. Get into the habit of backing up. only takes a few minutes and can save your hard work.
Next: Office 365 Integration
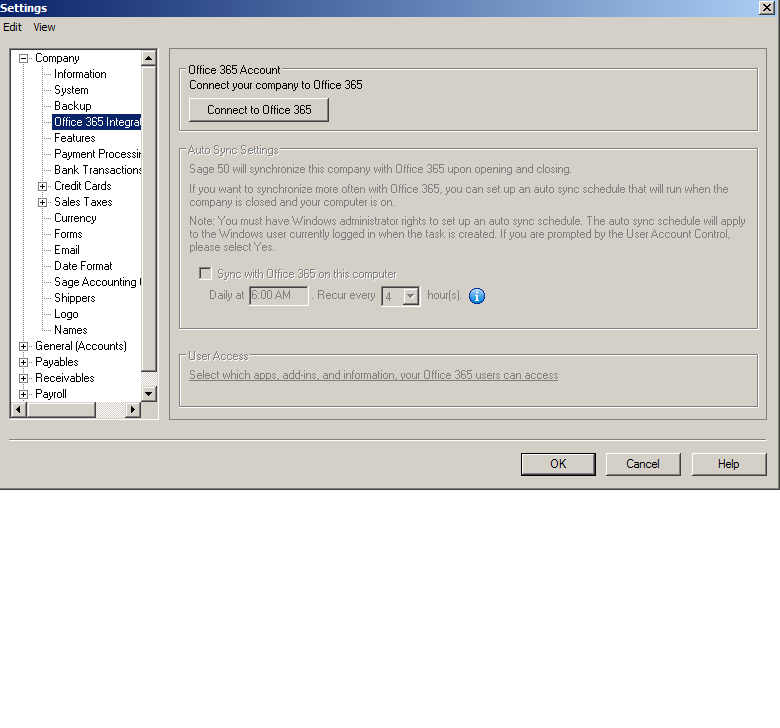 This is a cloud option. It’s the office you know, hosted on the cloud, plus tools to enhance how teams work together and manage your company across devices. this is up to you if you need this option.
Next: Features
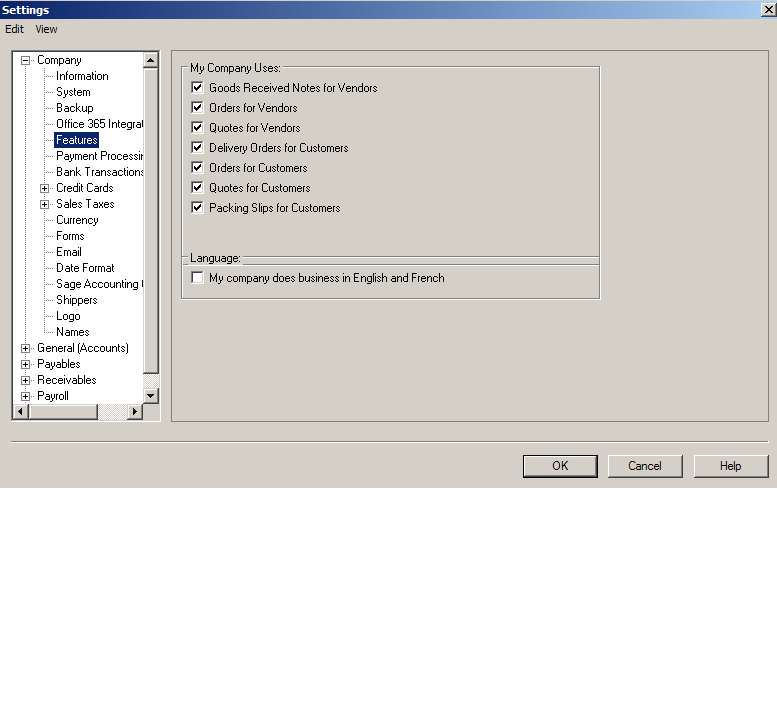 All the different modules are listed here. you can check off the ones you need. For example if you do not have payroll yet, you can disable the payroll module. the check marks indicated the ones you need for your business.
Next: Payment Processing
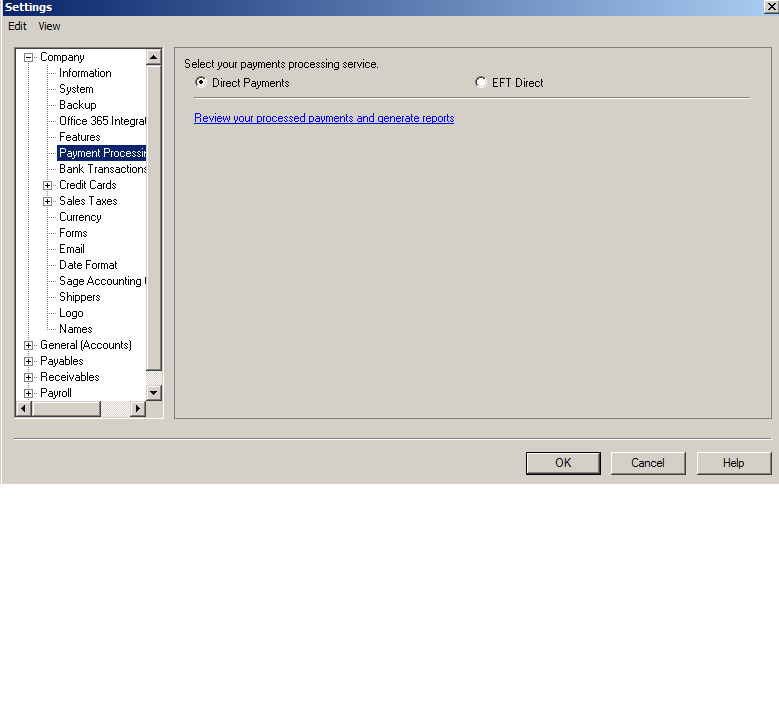 here you have the option of choosing Direct Payment (cheques) or EFT Direct (Electronic funds Transfer)
there are standalone companies who work well with Sage and you can register with them to pay your supplier or employees via EFT.
Next: Bank Transactions
This is to connect your bank account through Sage Bank Feed where you can automatically download bank transactions and post entries off of the downloaded transactions. I do not use this option but if you like to use it please let me know how it goes.
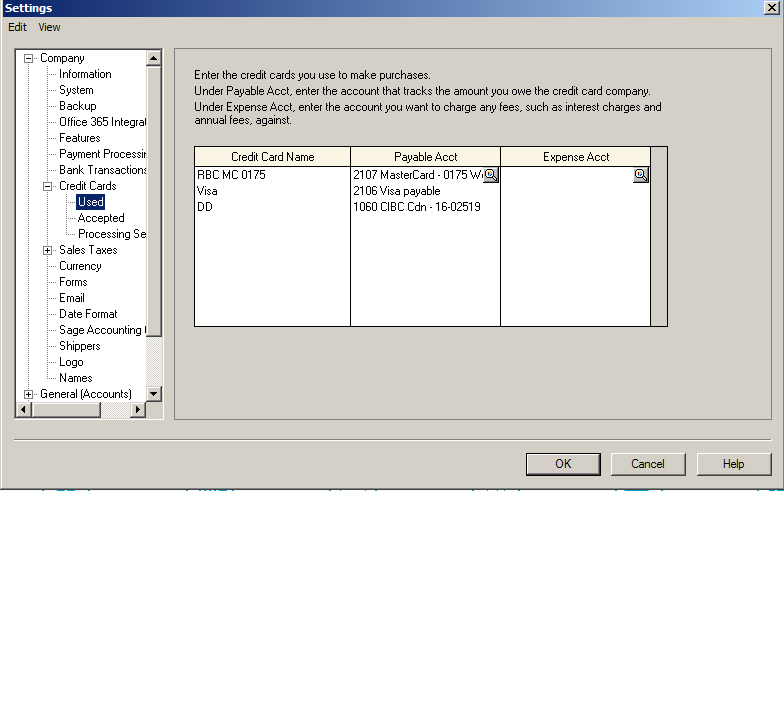
Next: Credit Cards (Used, Accepted and Processing Service)
Credit Cards Used is the company or your personal credit card setup for ease of recording transactions.
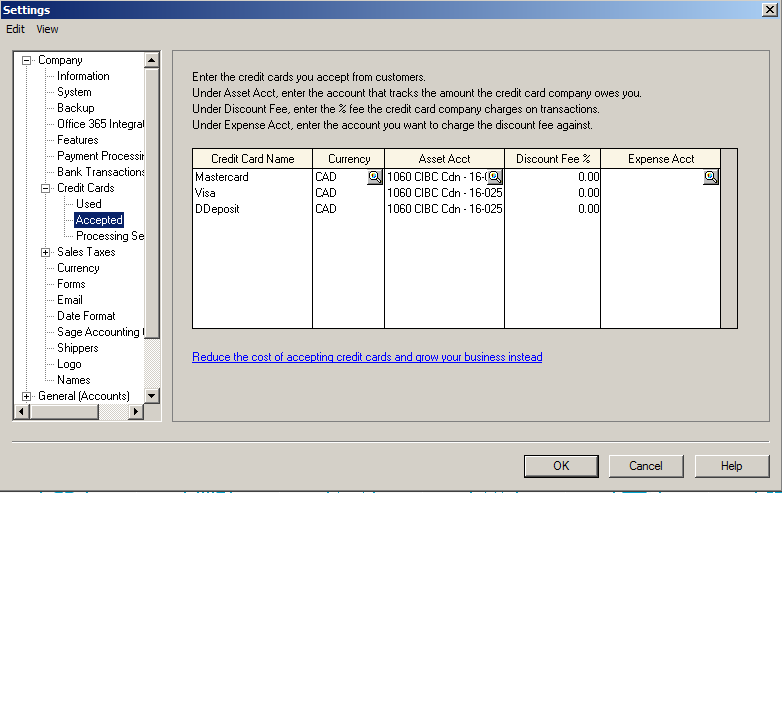
 This section is for credit cards accepted. you can also use this section of customers pay via EFT.
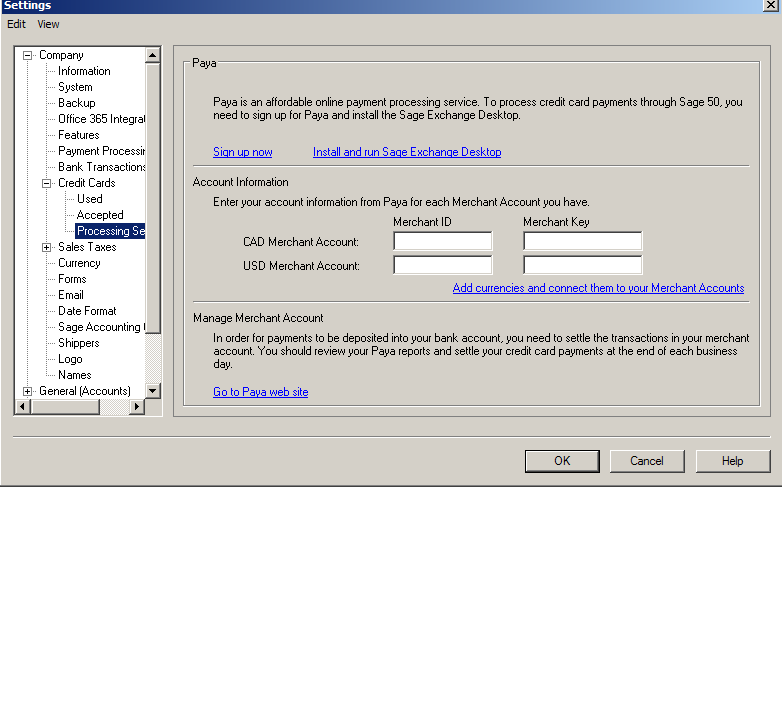
 This final section of Credit Cards is for Processing Services. This is a stand alone payment processing service that works with Sage and you can register with them.
Next: Sales Tax
This section has been covered and I will give the link below for your convenience.
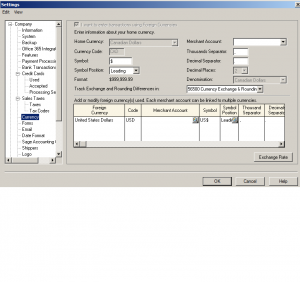
Next: Company Currency
If your company deals in US funds this is where to indicate it.
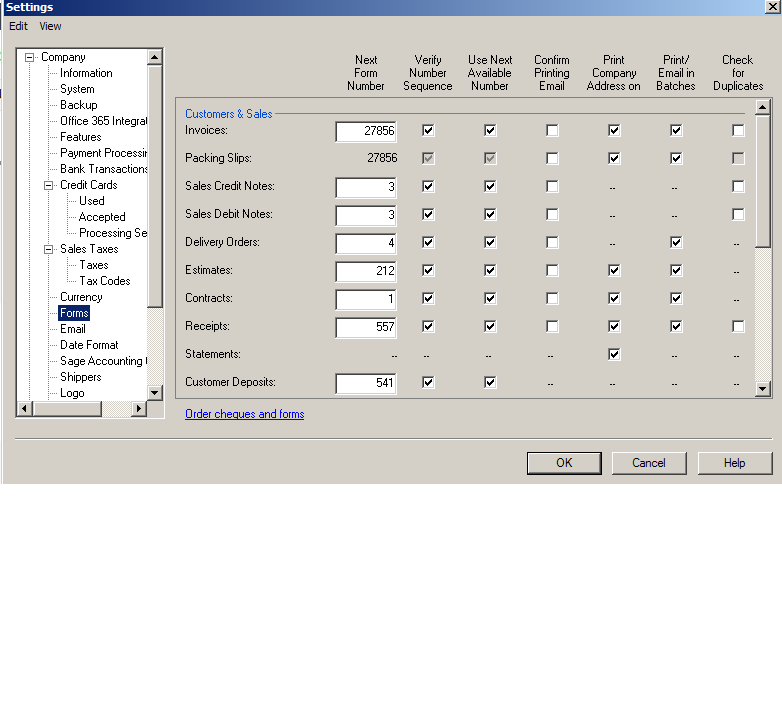
 Next: Forms
Here is a list of all the forms and the numbers that they start with.
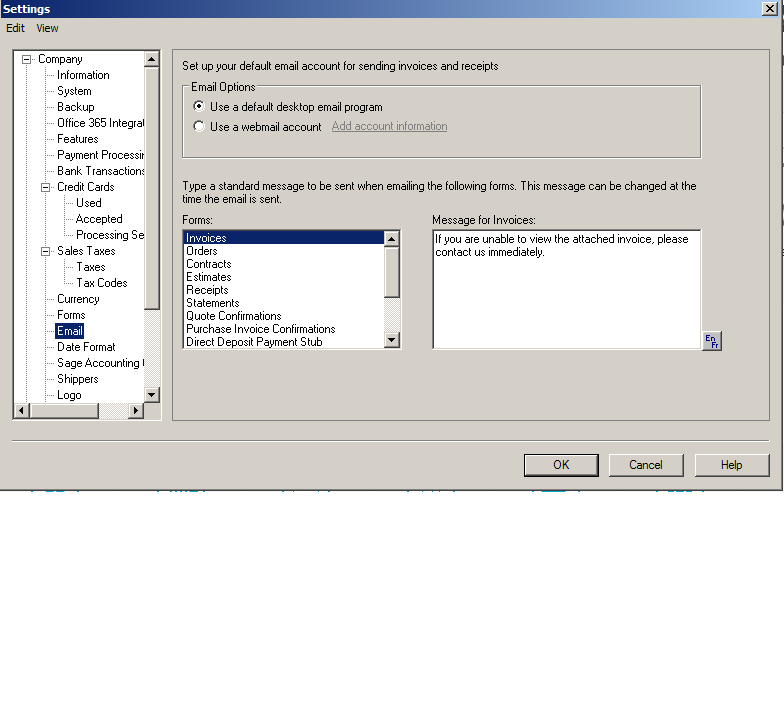
Next: email
this section is nice because you can choose a small write up that would automatically show up when your sending an email through Sage. click on each section and write up an appropriate dialog pertaining to that section.
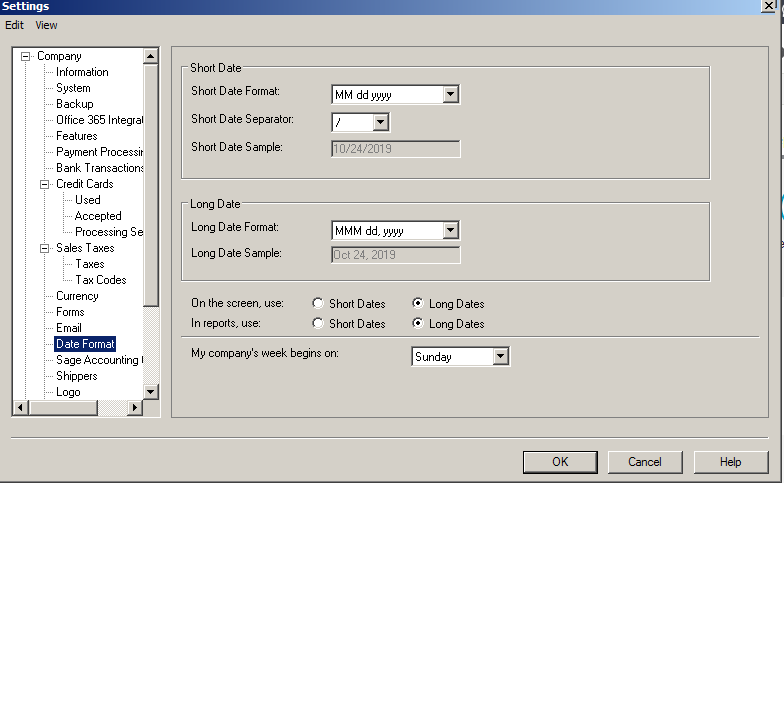
 Next: Date Format
I like to use the long date format where it shows the month as June instead of a number (06)
it is easier to find documents with the long date format. But this is totally up to you.
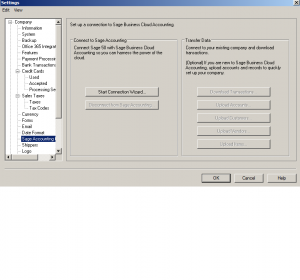
 Next: Sage Accounting Connection
this is the cloud connection of Sage. If your bookkeeper is in another town this system might work for reviewing transactions and financials.
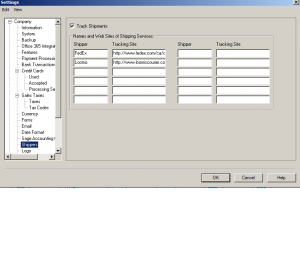
 Next: Shippers
This is great for your shipping department. here you can add the most popular shipping companies that you use and include them on the sales invoice. no guessing game how the product will be
 Next: Logo
Company logo can be set in this section and it will reflect on your invoice
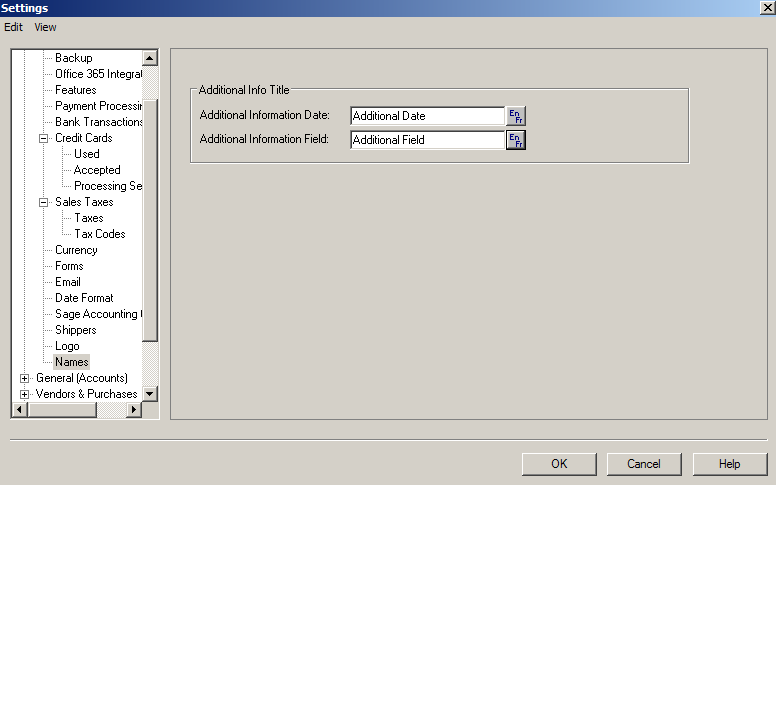
![]() Next: Names
Next: Names
This is Additional information title. choose your language to appear.
This tutorial concludes the Company section the next part is General (Accounts) section and the link is below.
Thanks for viewing and if there are specific question please drop me a note.
nk.